
Making new texture maps with Materialize

The first thing we will need to do is to get Materialize downloaded and installed on Windows. For this step you will have to click on this link: https://boundingboxsoftware.com/materialize/ or https://boundingboxsoftware.com.
Where it says Downloads you’ll choose ‘Download Materialize for Windows 64 bit’.
This will download a ZIP file to your web browser’s default downloads folder or the location you choose to download the ZIP file to.
Unpack the ZIP file and perhaps copy the new folder to your desktop folder or My Documents. This is a good idea since this is a stand-alone application that will not install itself into Windows directly. The program will simply run once you click Materialize.exe. You may also add a shortcut to the program by dragging it to the taskbar or creating a new shortcut on your desktop.
Running the program for the first time and it will look something like this:
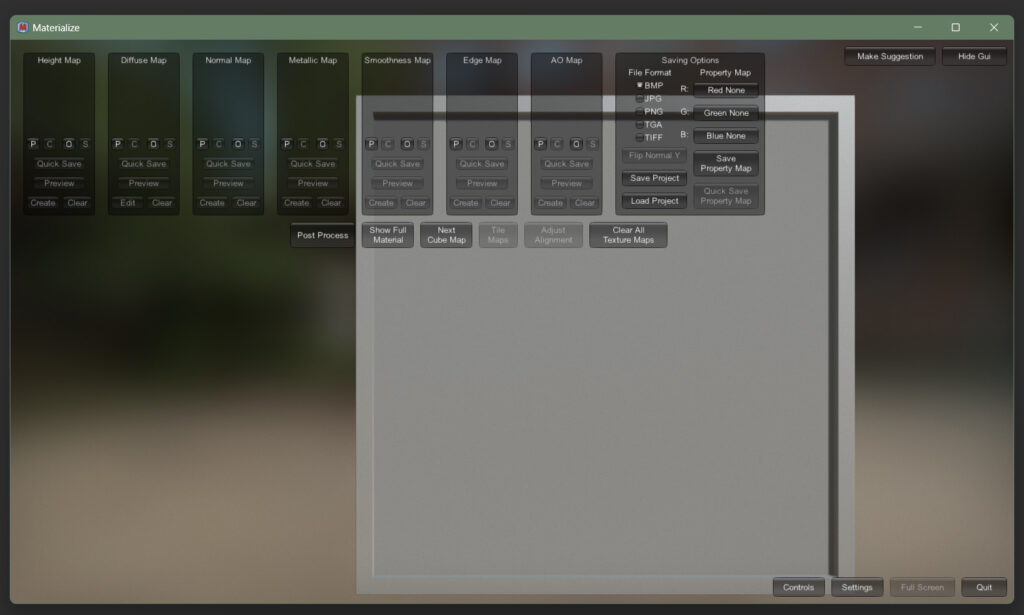
You can adjust the window to your own needs. However, the interface has no customisation, making the button text of the user interface very small on widescreens and big monitors—like 4K monitors, for example. It’s somewhat readable and maybe more legible if you adjust your screen resolution.
So to focus a bit more into the user interface of this application, I will first start with these:
- P – paste from the clipboard
- C – copy within Materialize
- O – open a file with Materialize (opens up a file dialogue to browse for files)
- S – save to file (opens up a dialogue where you will have to type in a file name and its file type, ex: mymaterializetexture.png
That’s what those four small buttons are used for.
I’m not going to go through everything here. We will start right away to generate the other maps. So let’s begin:
- Where it says Diffuse Map click on O.
- Navigate to the folder or location on your disk/hard drive where you saved your PNG – mytexture_diffuse.png
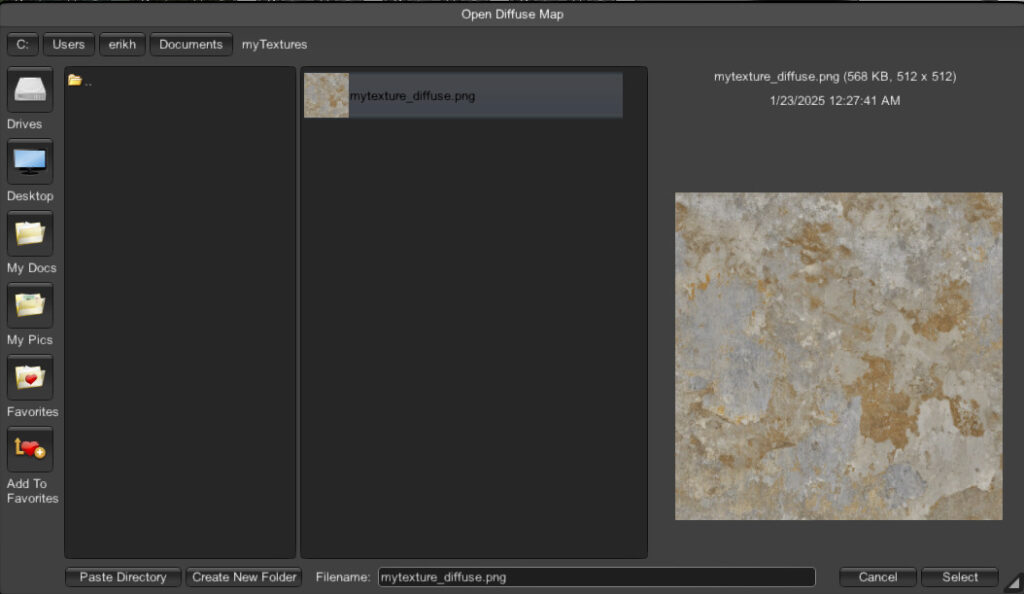
Just hit the Select button once you’ve found the file.
This will display our texture on the big flatboard inside Materialize. This board is more like a primitive 3D mesh. But now we are going to generate the other maps.
- Where it says Height Map, click on Create. A small window with many control options will show.
- Click on the button that says Details. This will make the height map more detailed. Optional: Cracks.
- Set as Height Map.
- Where it says Normal Map, click on Create. The small window with the controls shows up again.
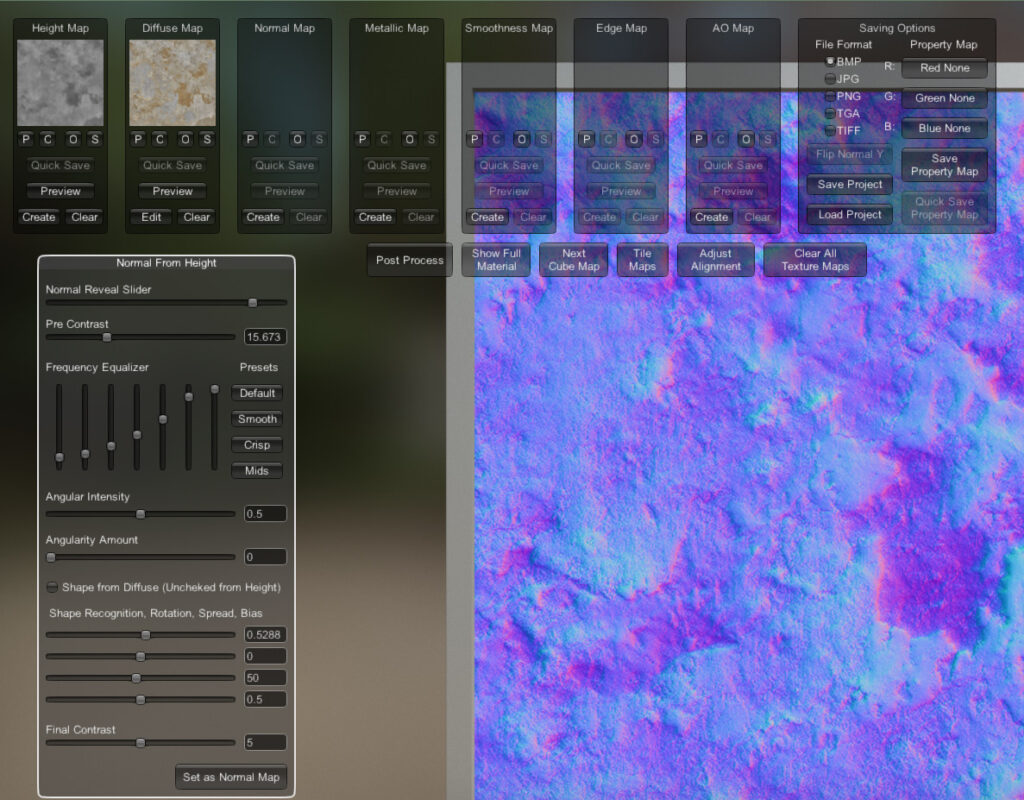
Untick the Shape from Diffuse to use data from the Height Map instead. Adjust the first slider under Shape Recognition to about 0.5288 and hit Set as Normal Map. We are just doing this for the demonstration since you will likely return to it later for fine adjustments.
Now that you have created/generated these maps, you may explore the other maps on your own.
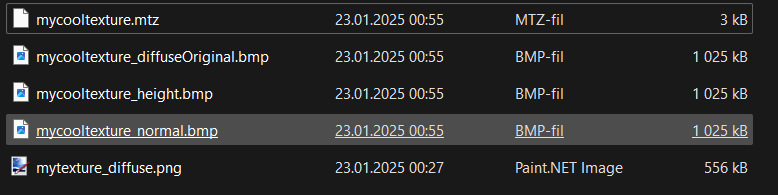
The only last thing you will need to do (every time!) is to hit the S-button to save each map OR hit the button that says Save Project and type in the Filename: mycooltexture *for example* and hit the Select-button. It will save each map you created to a chosen folder location, and you will find a file that is named mycooltexture.mtz which you can load into Materialize using the button Load Project.
I saved my maps as .BMP, where it says Saving Options. For later processing in other applications and converters, I will save them as PNG.
So that’s it for this guide.
Keep exploring Materialize for your own needs and projects. Happy modding!