

In the example above I’m going to extrude the selected edges 2 meters in X-direction several times. The way to do this is to use short keys to speed up the process. So to do this I start with:
- E + X + 2
- SHIFT + R to repeat the first step several times.
We use SHIFT + R in Blender to repeat the last operation.
Also we can extrude edges in other directions, like for example:
- E + Y + 2 to extrude 2 meters in Y-direction
- E + Z + 2 to extrude 2 meters in Z-direction.
If we change transformation orientation to NORMAL, we’ll get some changes in the directions, where:
- E + X will now extrude the edge in Y-direction (global)
- E + Y will now extrude the edge in Z-direction (global)
- E + Z will now extrude the edge in X-direction (global).
Usually NORMAL is way better for extruding faces along the NORMAL – which is these small blue lines sticking up from the surface of the mesh, which also tells us if the face is outside/inside depending on the direction of the normal blue line. Blender isn’t showing normals as arrows but as vectors.
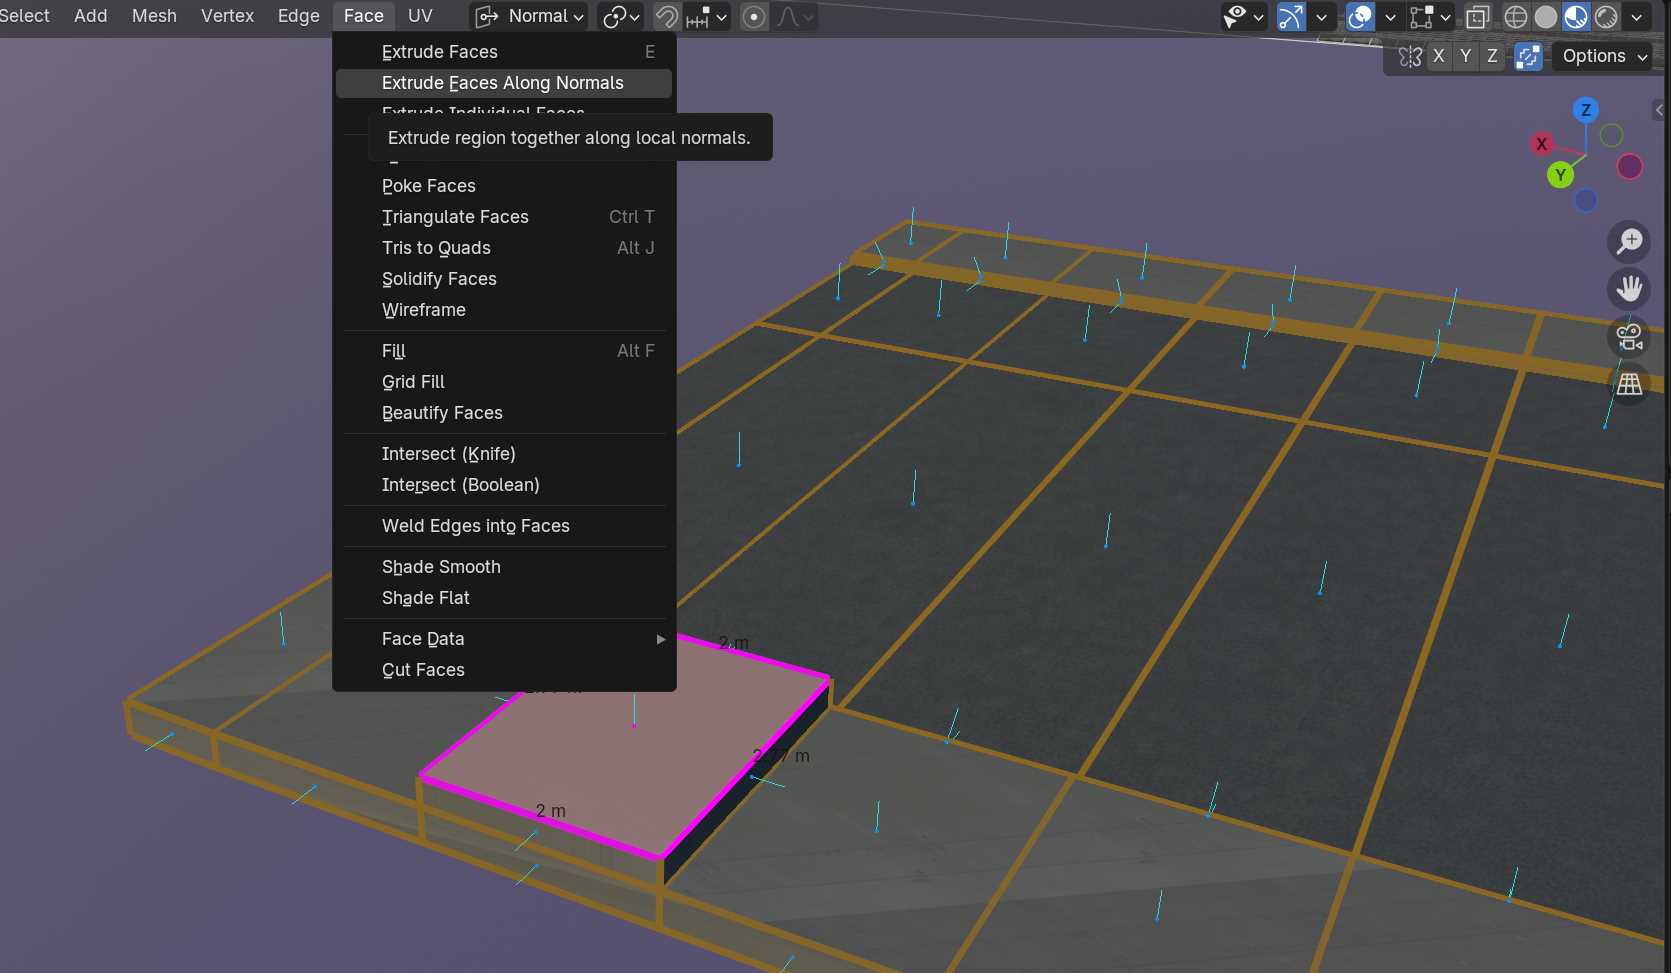
We can also select from the menu line Face > Extrude Faces Along Normals – to extrude several selected faces in the direction of the NORMAL. This happens immediately when moving the mouse cursor.