Here’s a typical example of that. It will also be visible inside a game engine unless there’s some fancy UV mapping/material correction applied.
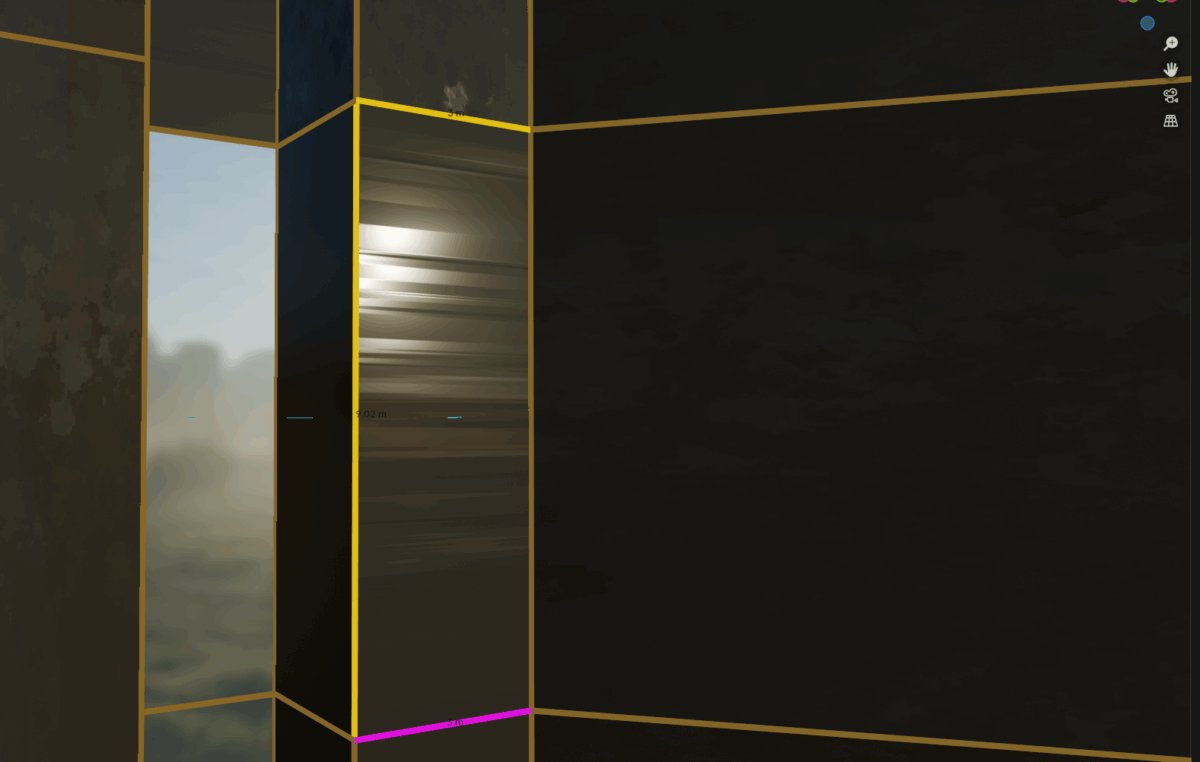
This is how it may look in Blender. Notice the surface above the highlighted pink line…What is missing is that this face between the edges in yellow and pink, need to have correct UVs so the texture looks like it supposed to.
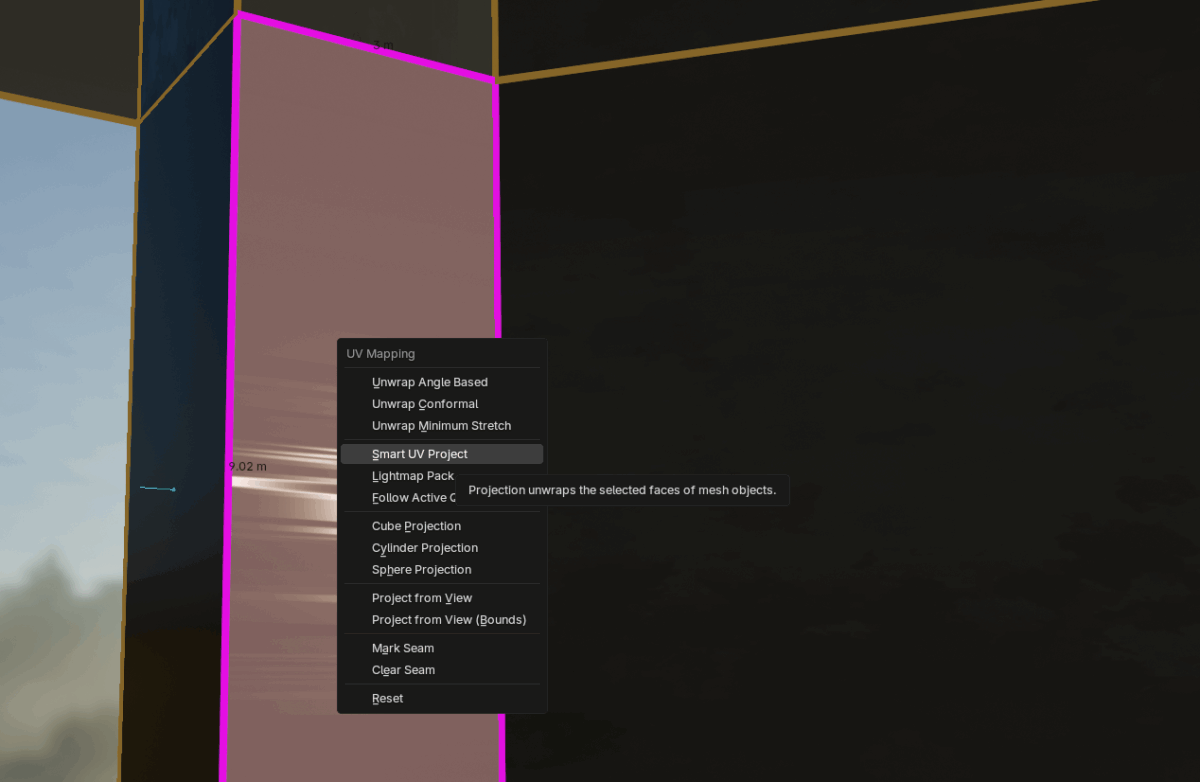
So the way to correct this is to TAB into Edit Mode, select the Face, short key U to bring up the UV Mapping dialogue, and choose the UV mapping you want (ex: Smart UV Project). You may also jump into the UV Editing workspace.
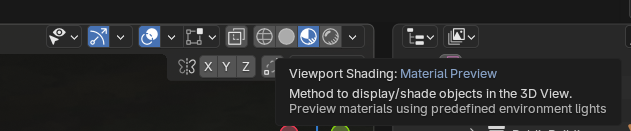
A way to spot things like this easier, especially when it comes to black colored texture maps, is to apply a normal map to the active material, or adjust the Roughness of the material when viewing the scene using Material Preview (viewport 3D view). If you don’t know what that is, look for these buttons: