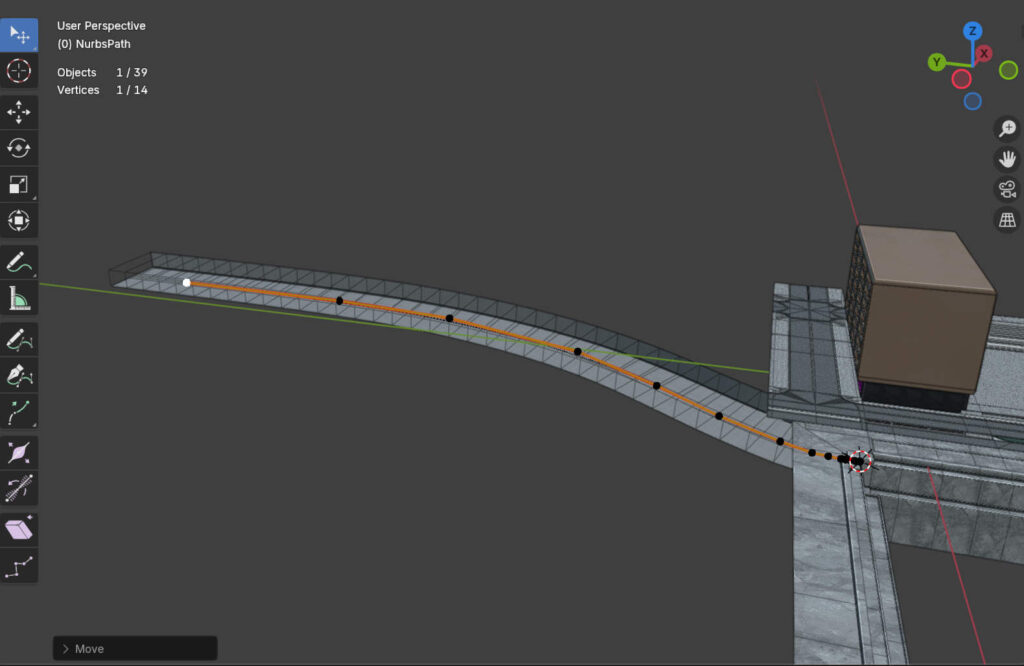
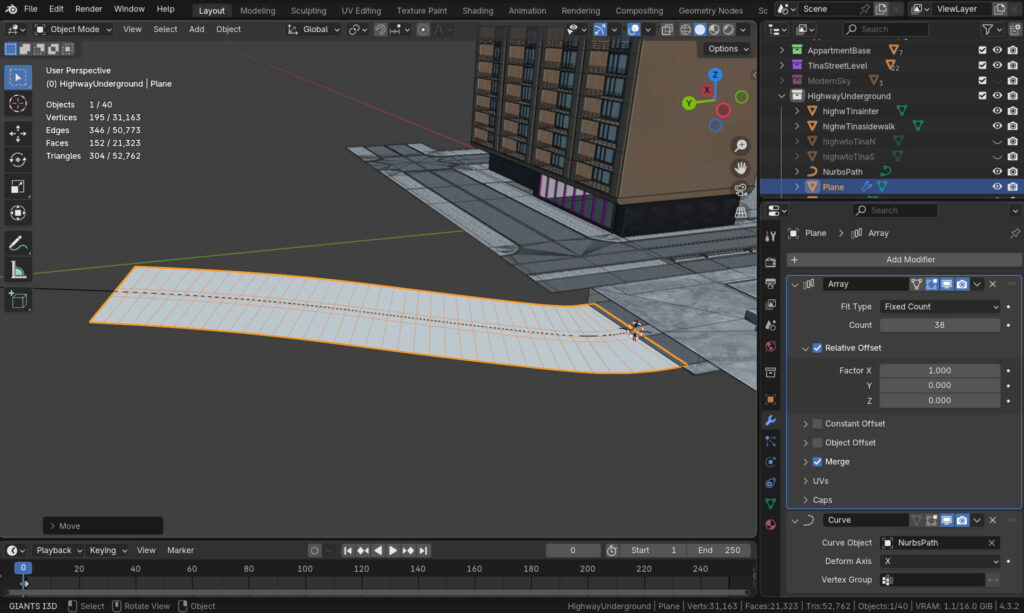
The combination of the Array and Curve modifiers can do many things. The first confusion that I usually run into is the selected Relative Offset Axis *, which in this case is the X-axis for the Array modifier. Which axis to use depends on the object’s shape and where it’s supposed to go. Because where it’s supposed to go is where the curve goes.
When these modifiers are selected for the mesh object and you have a path made, such as a curve—usually named NurbsPath in Blender with its green curve symbol—then that NURBS path has its own properties panel, with the panel Shape open.
Under that panel, you find two large buttons, 2D and 3D. In my case, 3D is in use, and the Twist Method is set to Z-up. That’s the only option I check for this type of object-to-follow-curve operation.
Some Blender users will claim that you have to do this operation at the World origin and on the main grid. That’s unimportant as long as you use the 3D cursor as your World origin for both the mesh object and the NURBS curve. The origin of these two needs to be aligned at the same point you placed your 3D cursor.
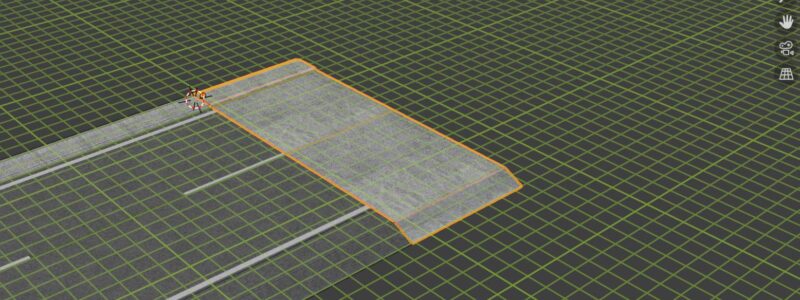
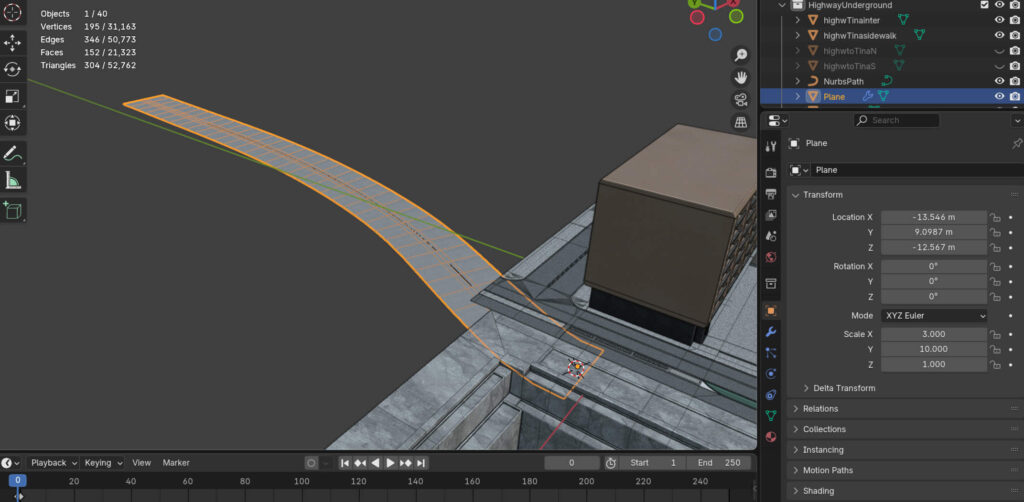
Before these modifiers are applied, you can scale your mesh object from the small panel with the arrow sign to the right of your viewport. You may also go into the Object Properties panel and adjust scales there.
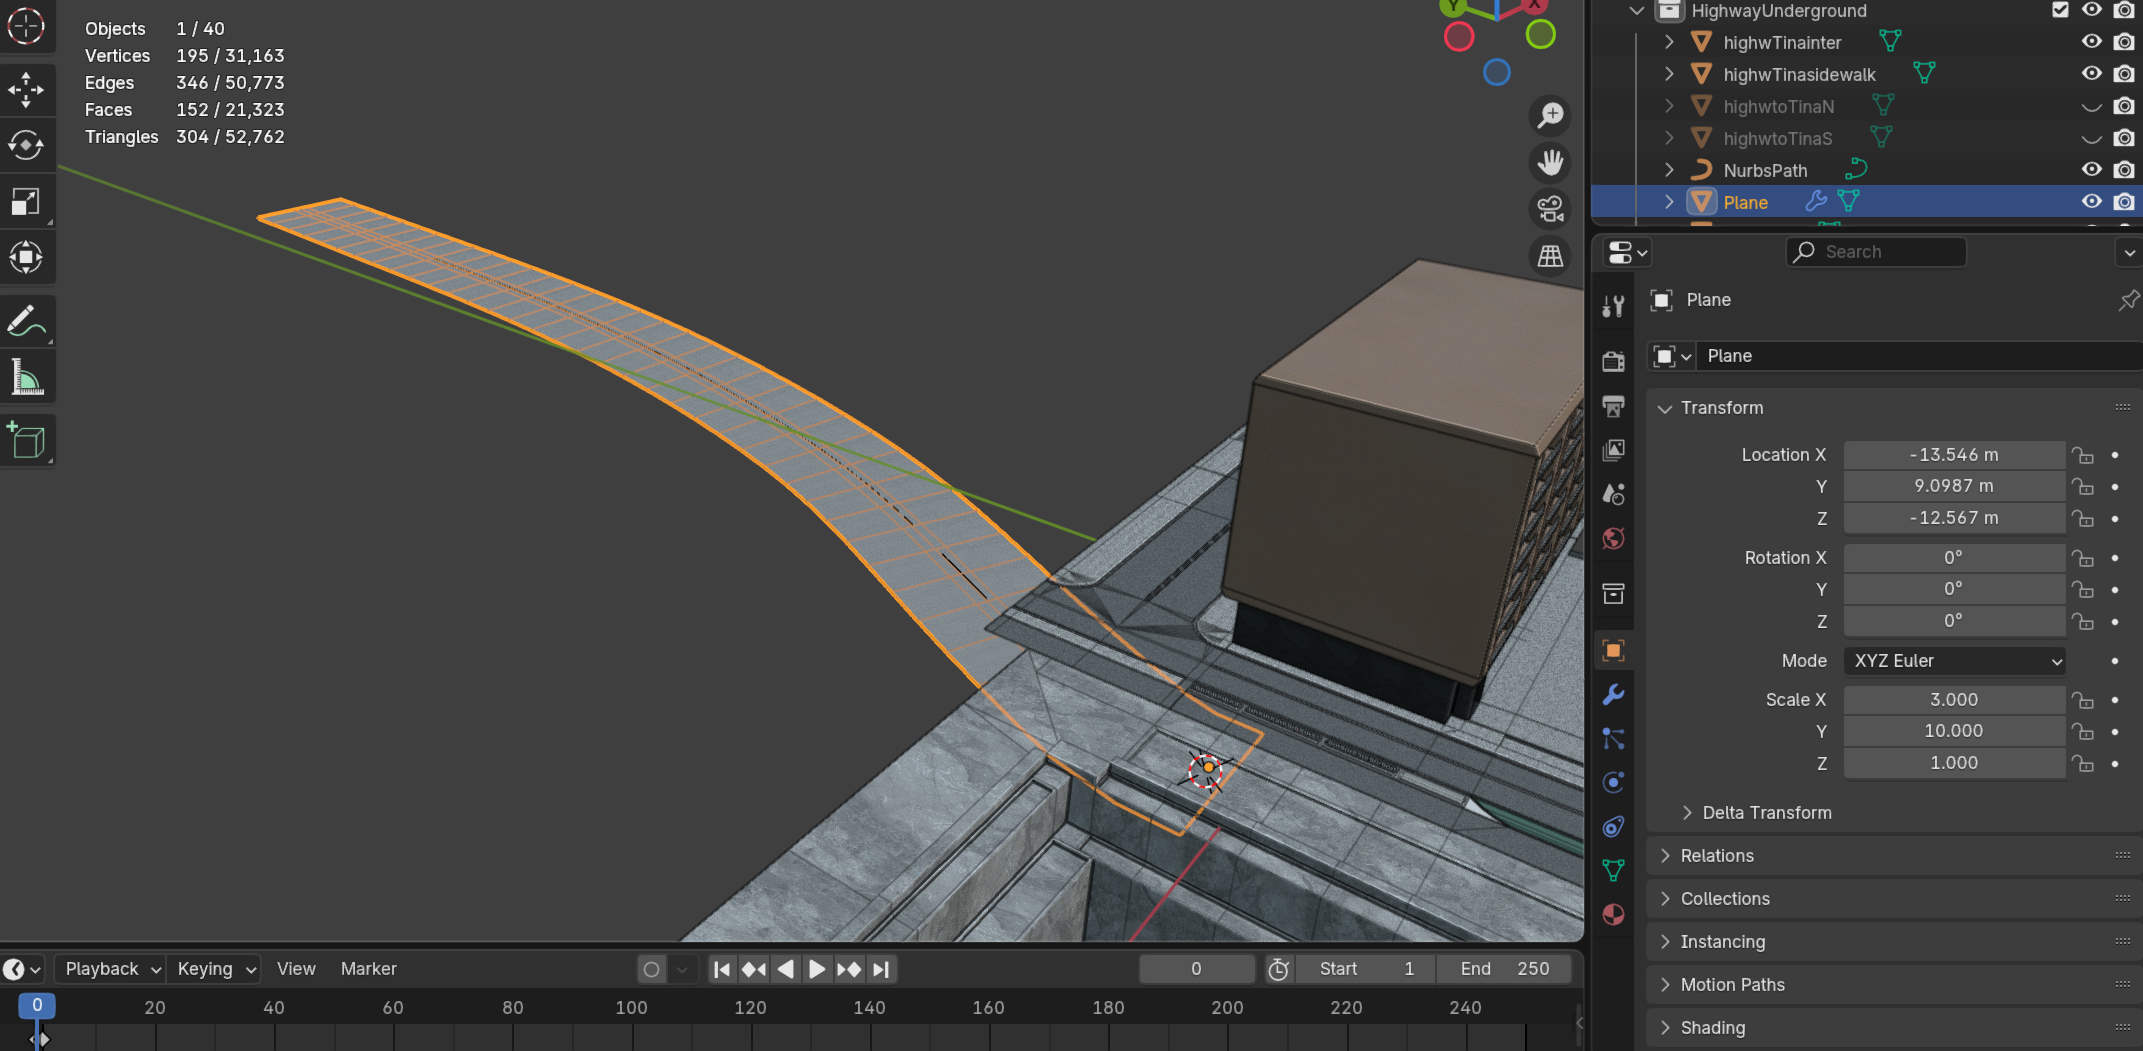
To even change more of the mesh object, you can ‘TAB’ into Edit Mode and move the edges, faces and vertices. When switching mode, the mesh object may rotate depending on the set relative axis in the Array modifier. This can be particularly problematic if the object’s width, height and length are the same – like with this plane primitive that I added and edited to fit the width of the tunnel you see behind it. So I’m extending that tunnel since this is a game asset, where one prominent mesh structure (like a building) consists of several parts – what is more like children of a parent, just like in Blender.
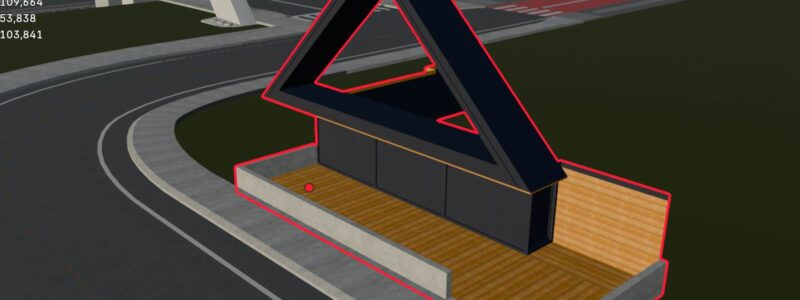
You may also apply a material to your object before applying the modifiers.
Below, I have adjusted the scale and can now apply the modifiers. But I also want to extrude the edges to make walls, and the usual switch back and forth between Edit and Object Mode continues.
If you need to know more of the basics about this topic, please watch this YouTube video made by Ryan King Art.
- You probably notice in my first picture that the curve goes in Y-direction, and yes, it does. But the wicked part is that Relative Offset has to be set to Factor X +1 in my case. My mind doesn’t understand that since it’s thinking, ‘curve going in Y-direction…then…wtf?’ and so on 🙂